Creating Your First Event
An event is the container for your contest: its entries, voters, and results all live inside it.
1. Pick a plan for the event
When you create an event, you'll be prompted to choose its plan tier. Every account gets 2 free events, so pick Free to start there, no credit card needed. You can upgrade an event to a paid tier at any time if you need more. Free events are subject to published limits on entry count and results visibility (see Entry Limits by Plan and Results Visibility Levels).
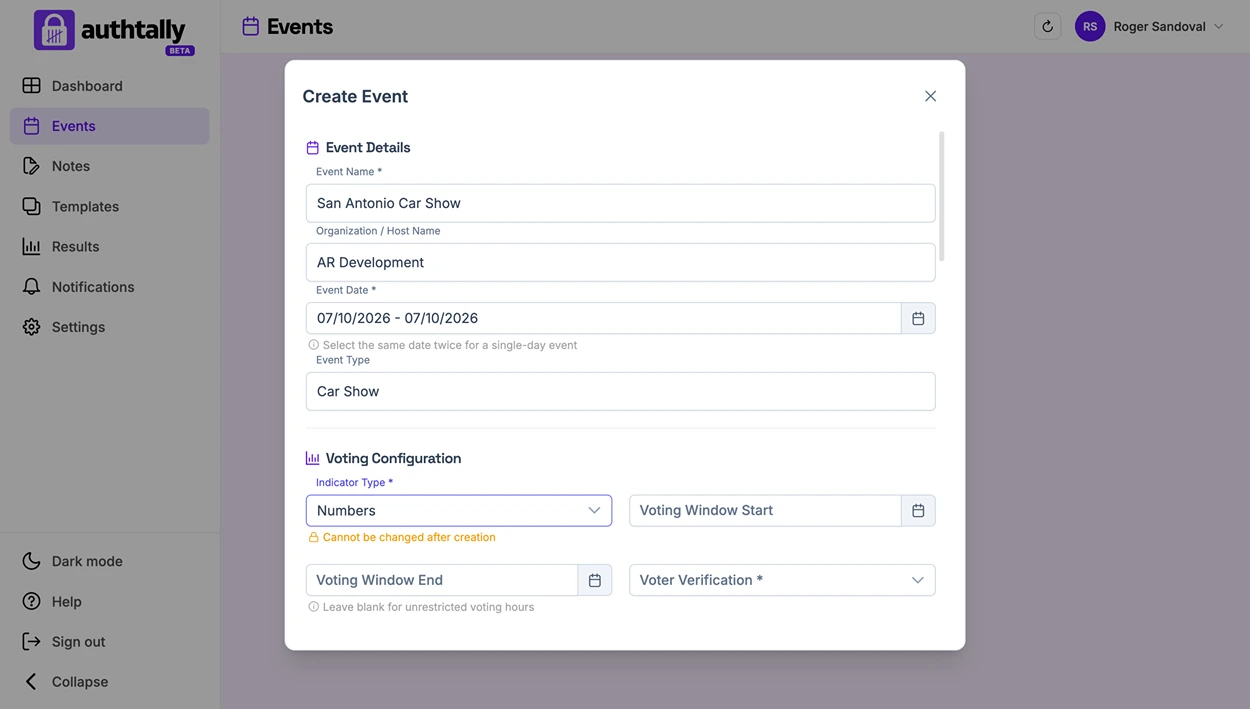
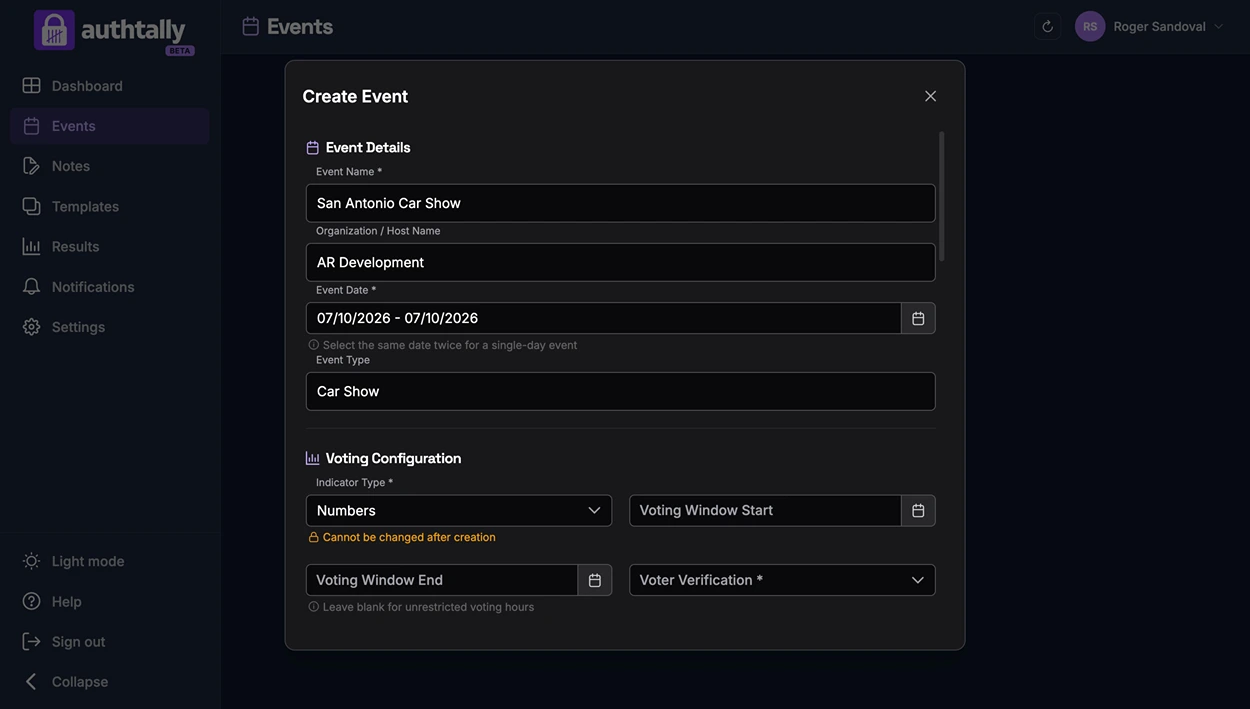
2. Fill out event details
Give your event the basics voters and your dashboard will use to identify it:
- Event name
- Event type
- Dates
- Location
- Description
What's next
Once your event exists, the next steps are adding entries, choosing how voters will verify themselves, and sharing the event. Category modes, voter verification, and other configuration options are covered in Event Setup.